Templating
Table of contents
- Listing templates
- Create a new job based on a template
- The job view
- Creating a template from scratch
- Sharing a template with other users
Listing templates
To list templates, click the “Templates” tab in the navigation bar at the top of the page.
By default, all templates available to you will be displayed.

If you only want to display the templates that you have created yourself, click “Your templates”.
Create a new job based on a template
Clicking “New job” on a template in the list of templates will create a new job.
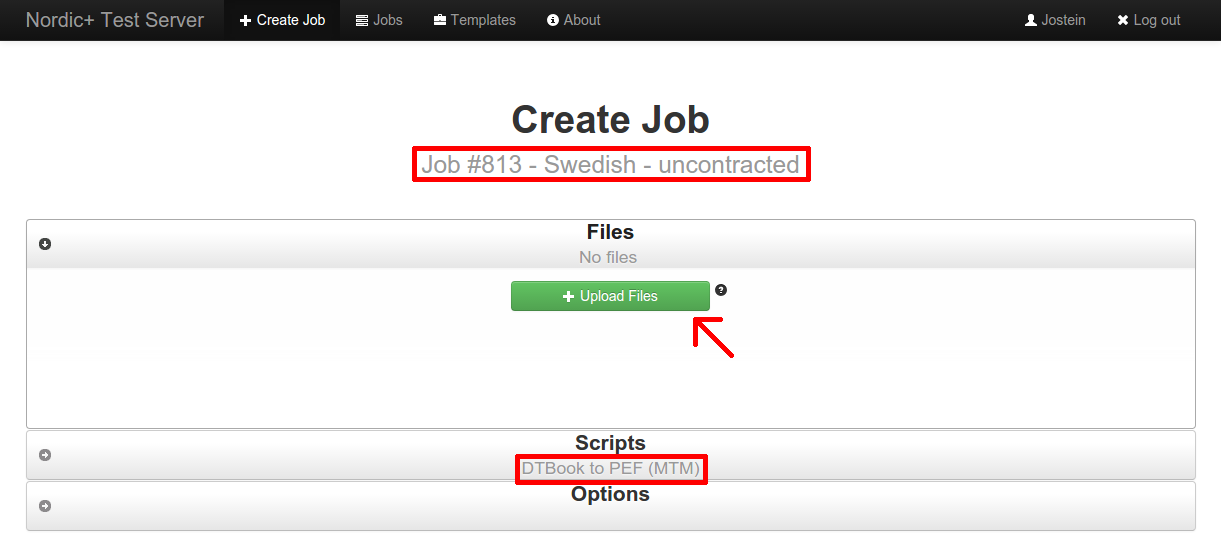
The job will be given a name to reflect what template it is based on.
First, you will be asked if you want to upload any additional files. Some files may already be present here if the template contains files.
The script to use is already defined by the template.
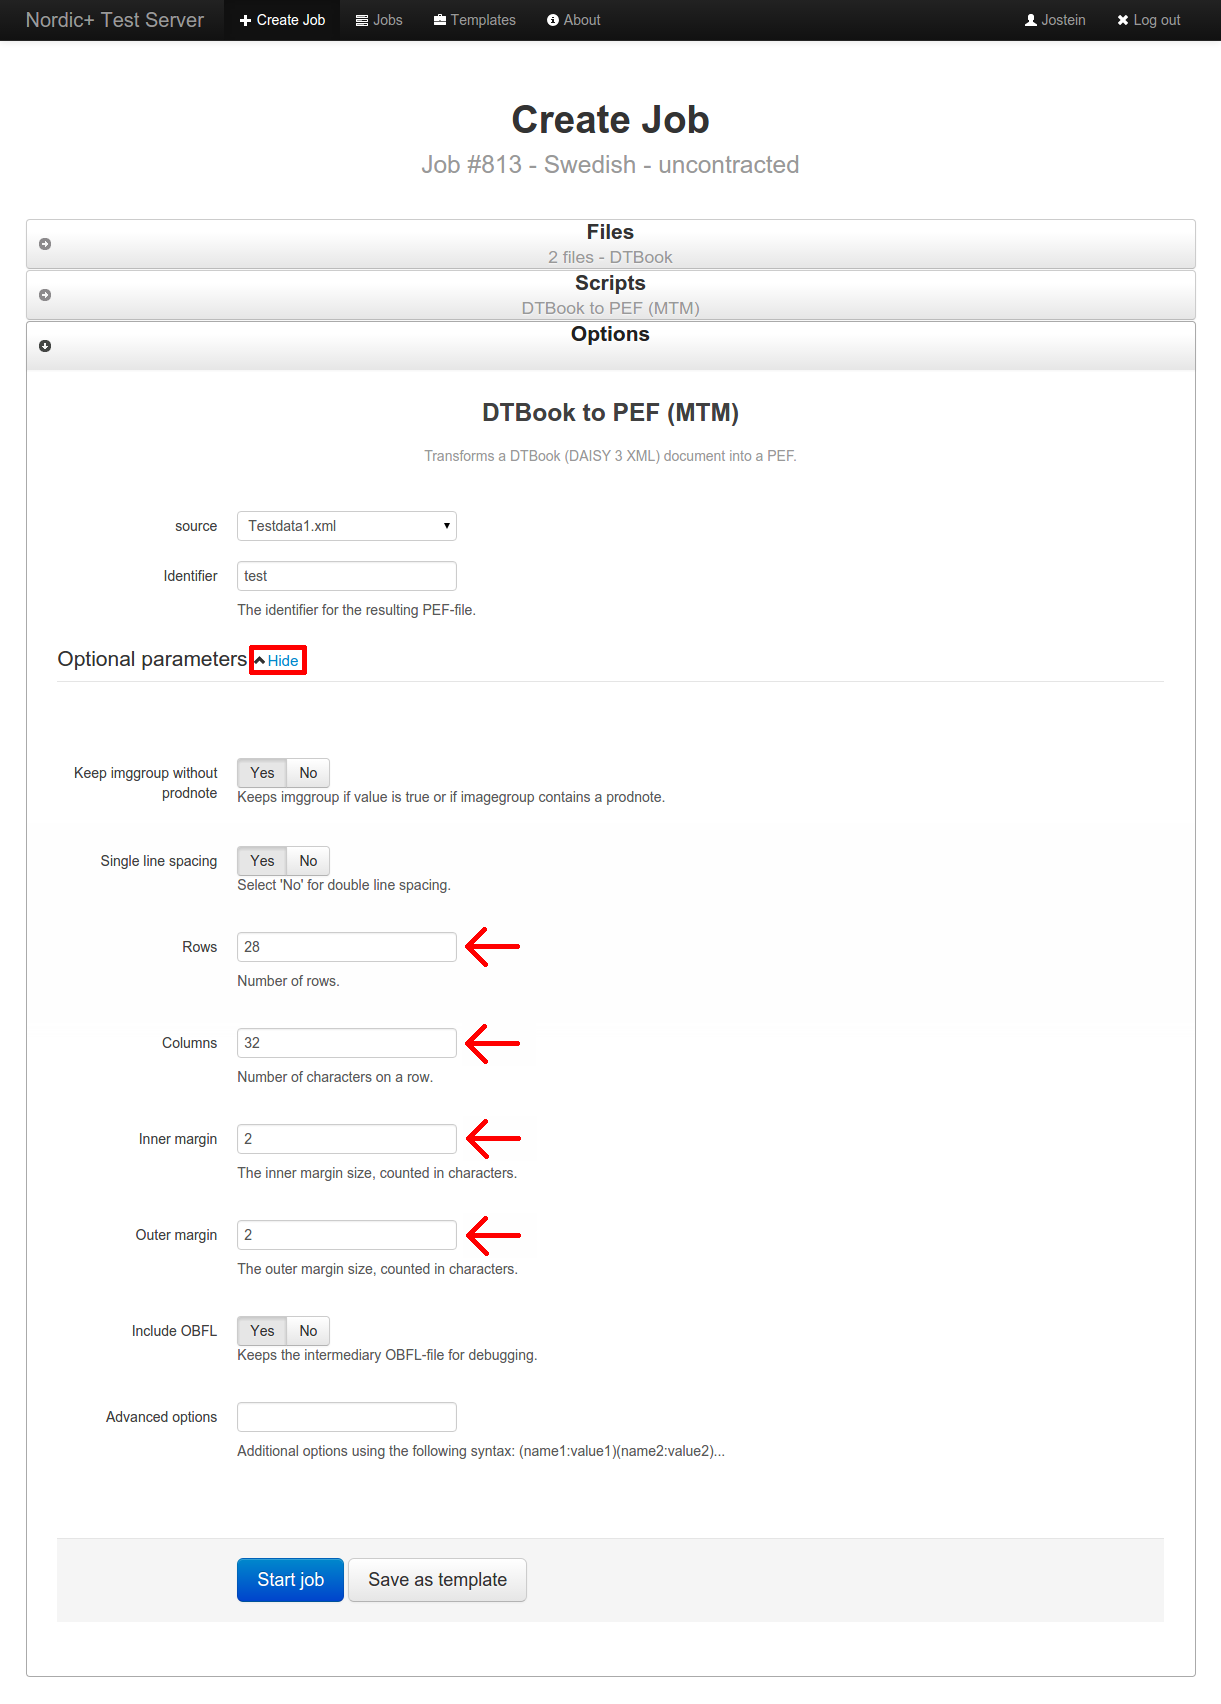
Since the script to use is already defined by the template, the next thing you need to do is to complete the mandatory options.
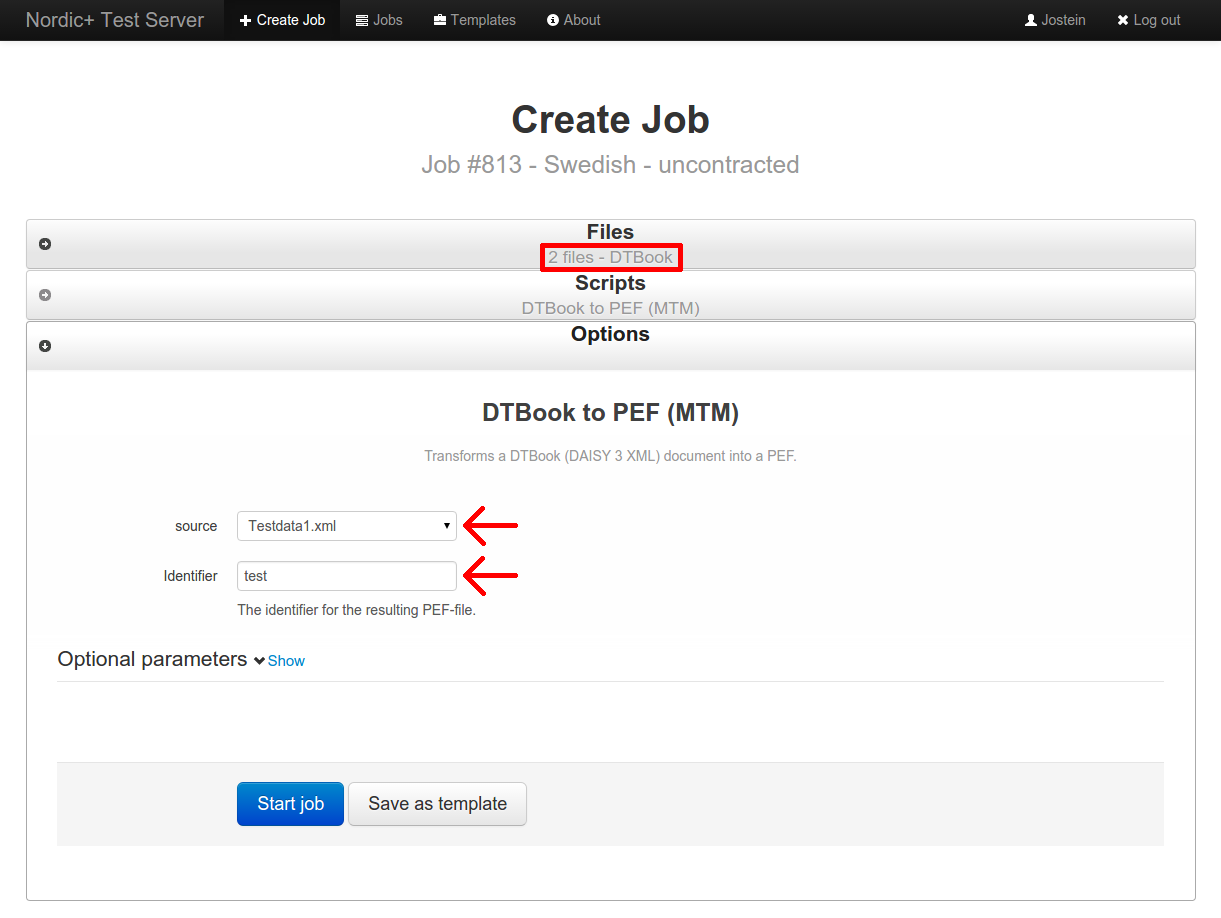
In this example, some of the optional parameters has been pre-filled by the template. Different templates can have different values.
When you’re done; click “Start job”. You will be redirected to the job view.
The job view
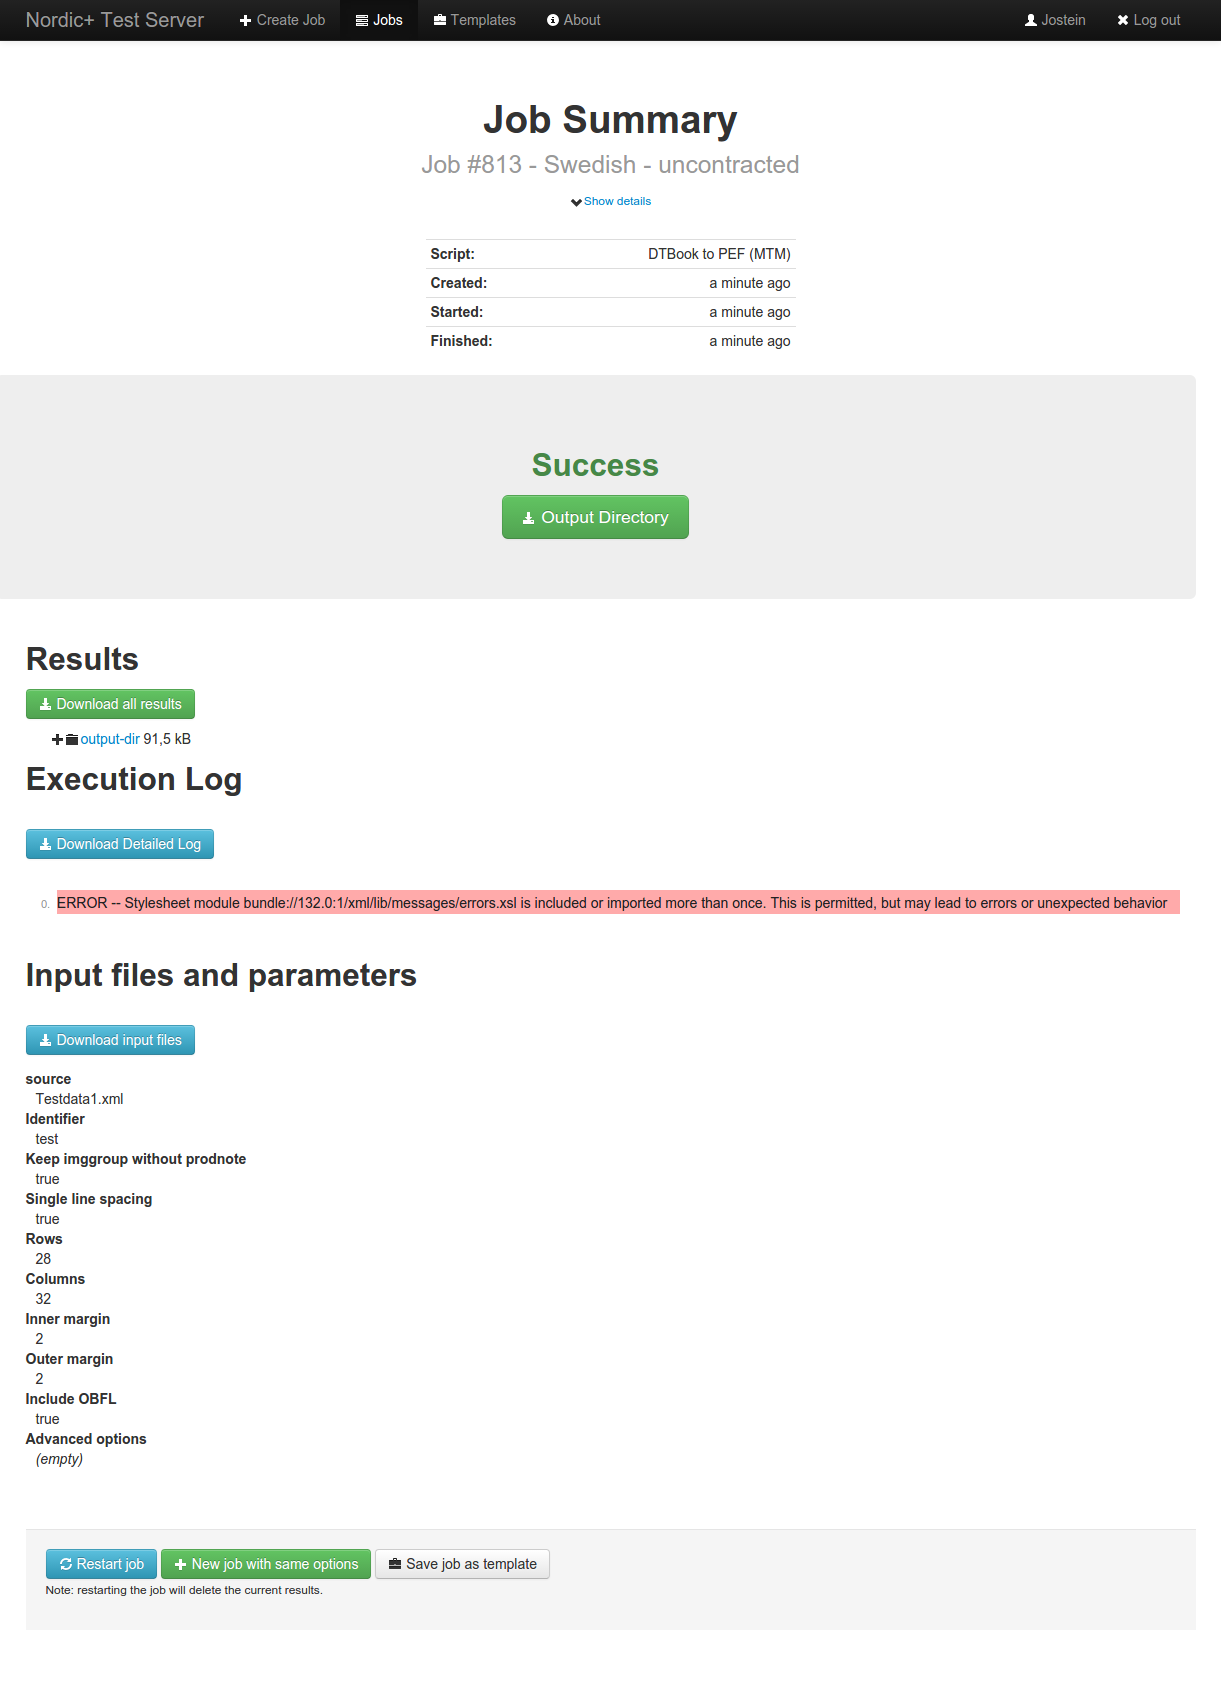
The job view contains some details about the job such as its status, when it was started, which script was used, what the inputs and option values were, an execution log, and some scripts also contain a report.
When the job has finished running, you can download the results, and also the input files if needed.
At the bottom of the page you have three buttons, letting you either:
- restart the job
- create a similar job with slightly different option values
- save the job inputs and option values as a template for use later
Creating a template from scratch
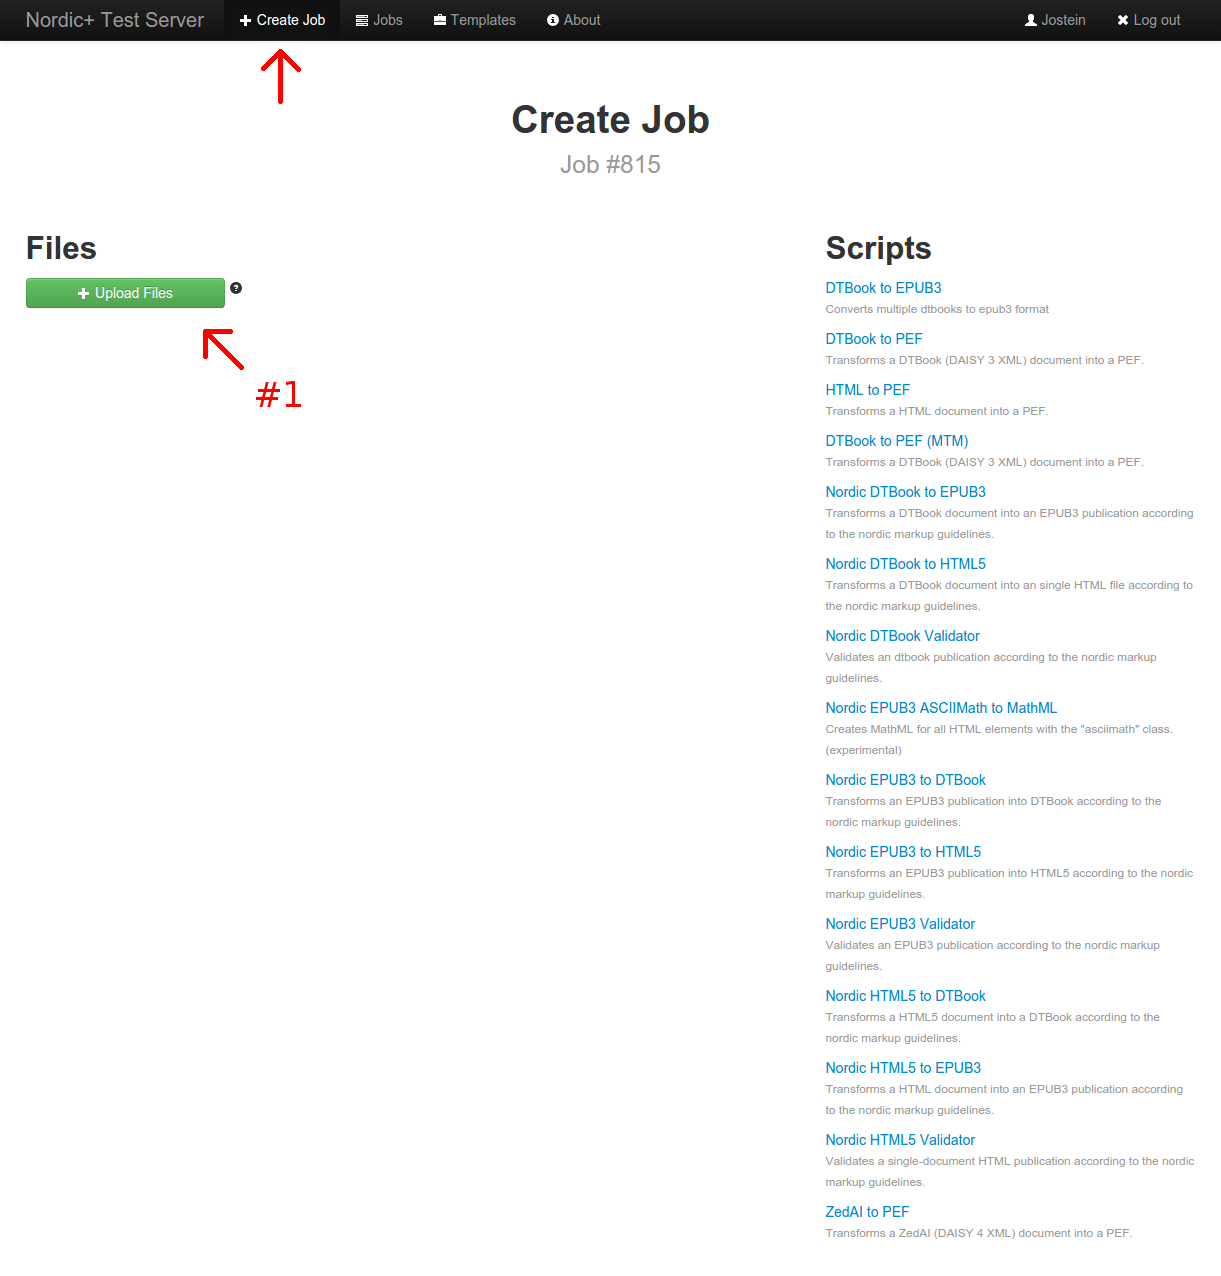
To create a new template from scratch, click “New job”. Upload the files you want to include in the template, if any.
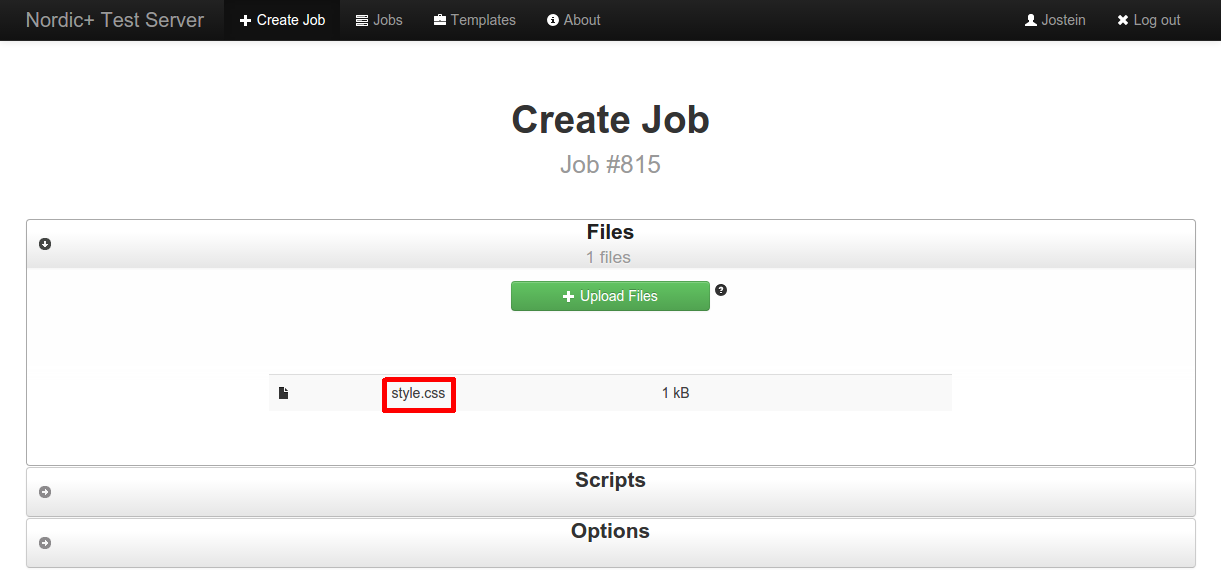
In this example, a CSS-file has been added. All jobs that are created based on this template later will include this CSS-file, so that the CSS-file doesn’t have to be re-uploaded for every future job.
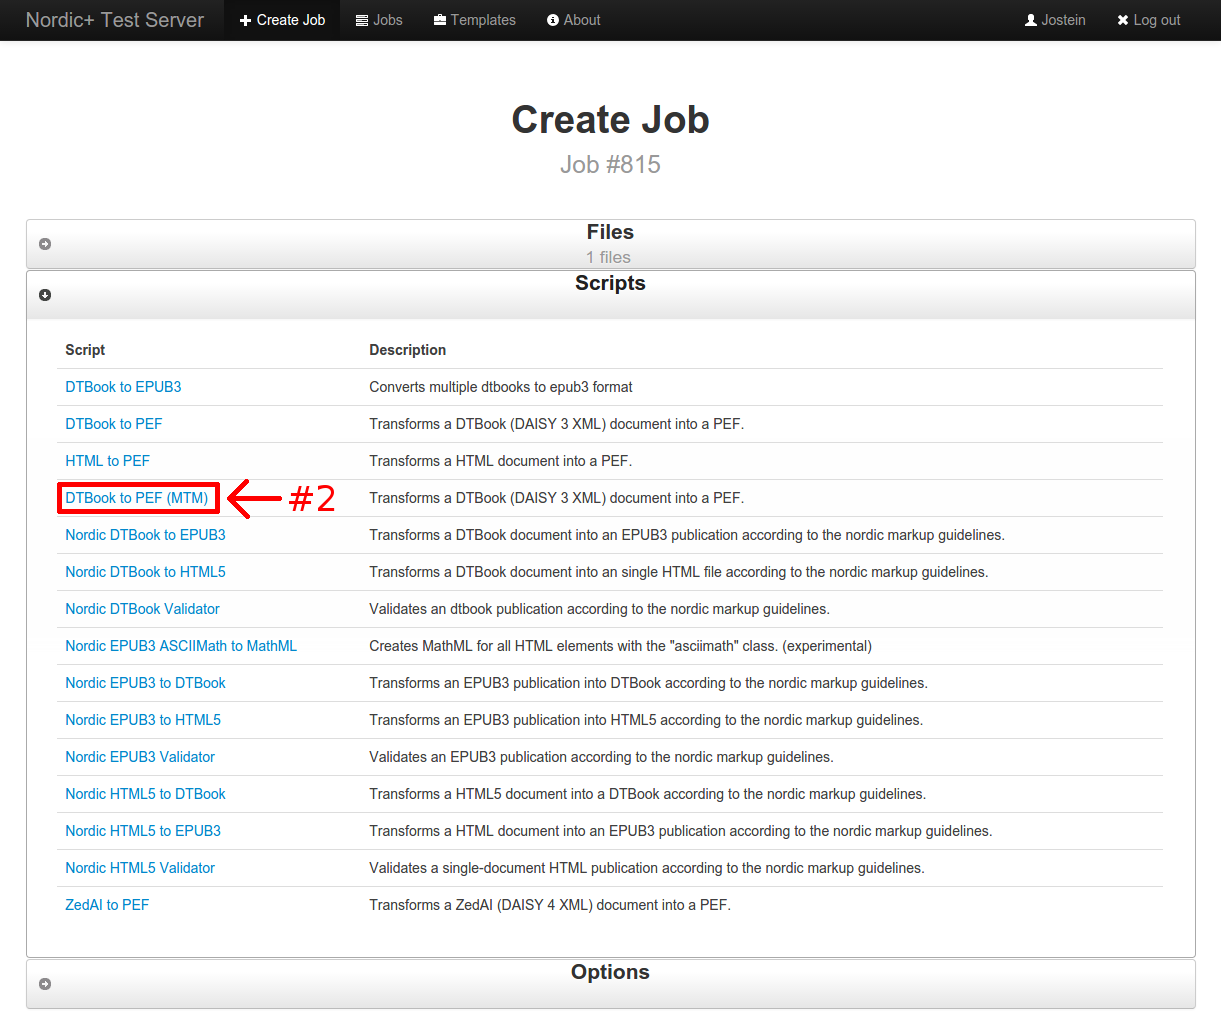
Next, choose a script. You cannot create a template without choosing a script.
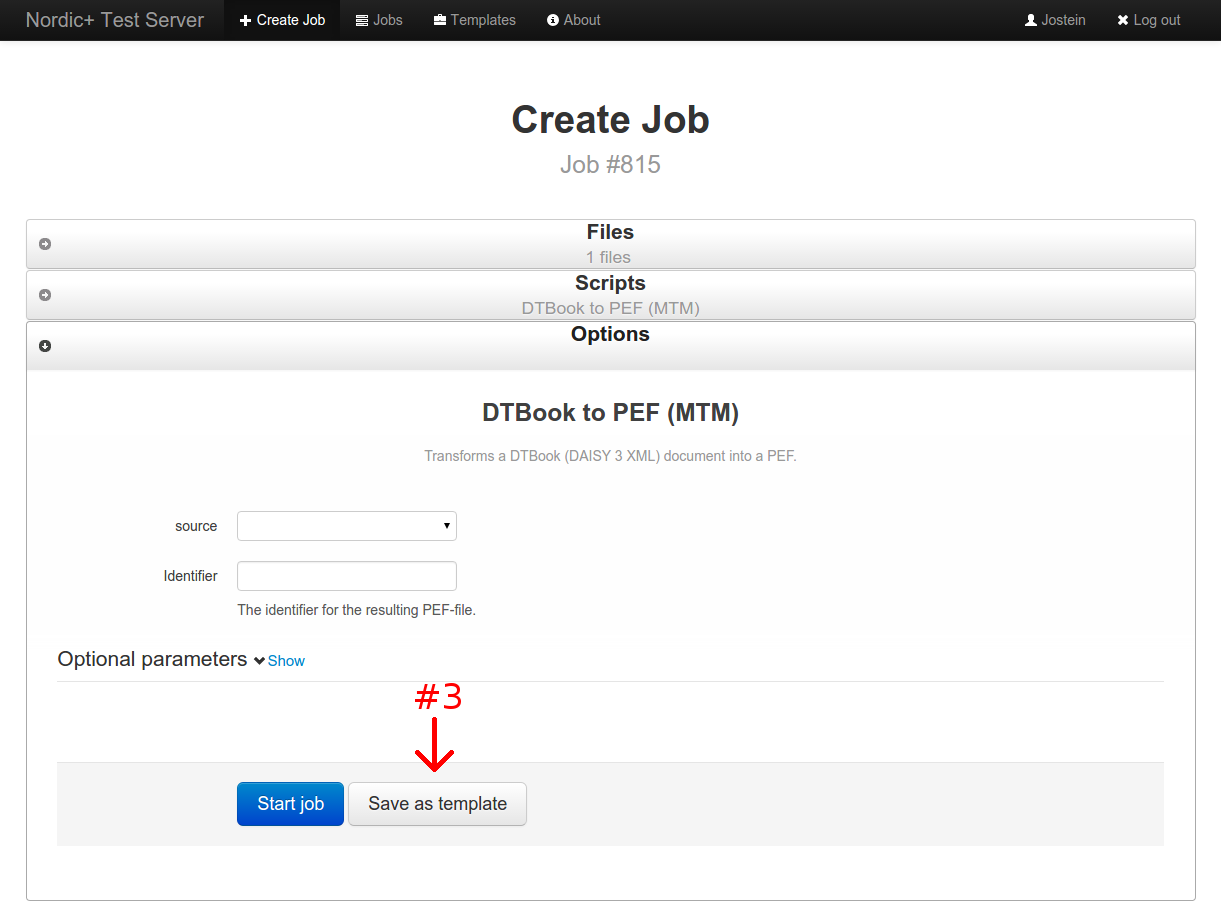
Finally, you can fill out the options as you want them to be stored in the template, and instead of clicking “Start job”, click instead “Save as template”.
You will be redirected to the template listing, and the new template will be highlighted.

You will probably want to rename your template to something more descriptive. Click “Rename” next to the template, fill out a new name, and click “Save”.

Sharing a template with other users
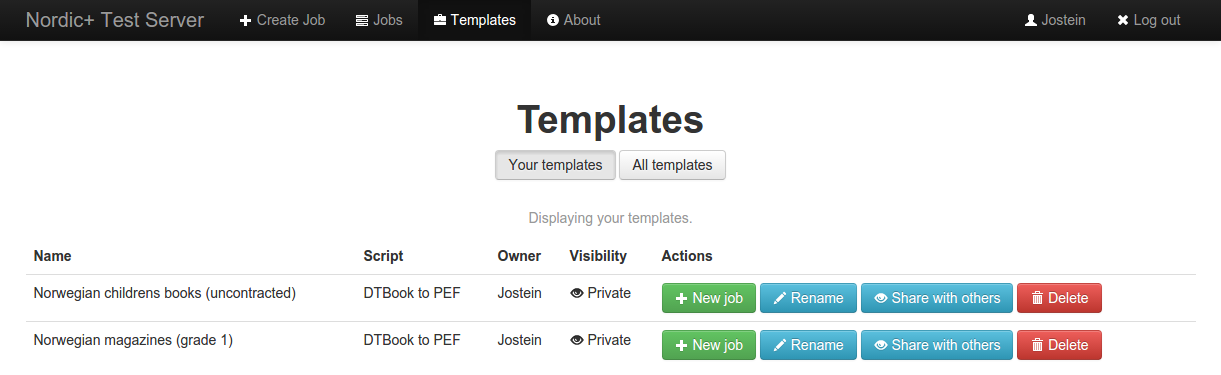
When you create templates, they are by default only visible to yourself (and administrators). Other users cannot use your private templates.
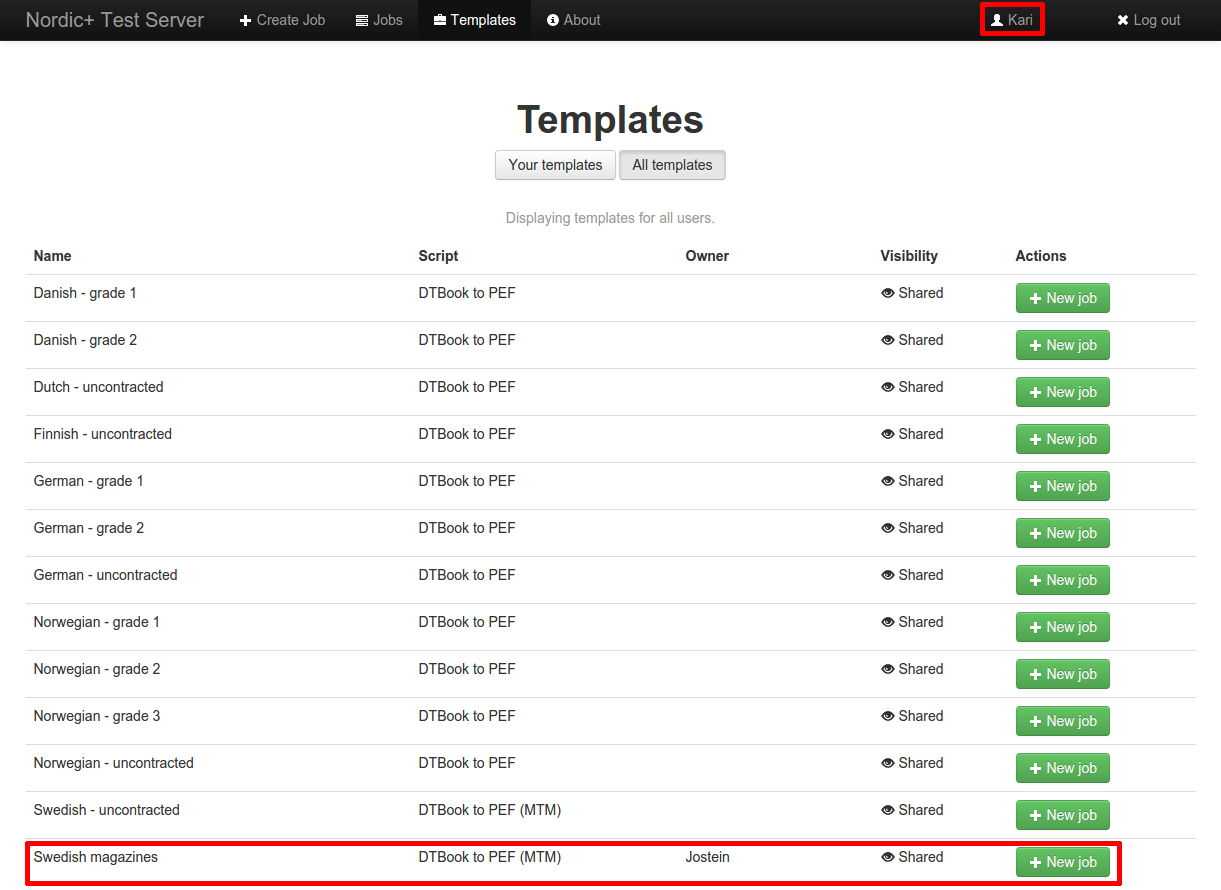
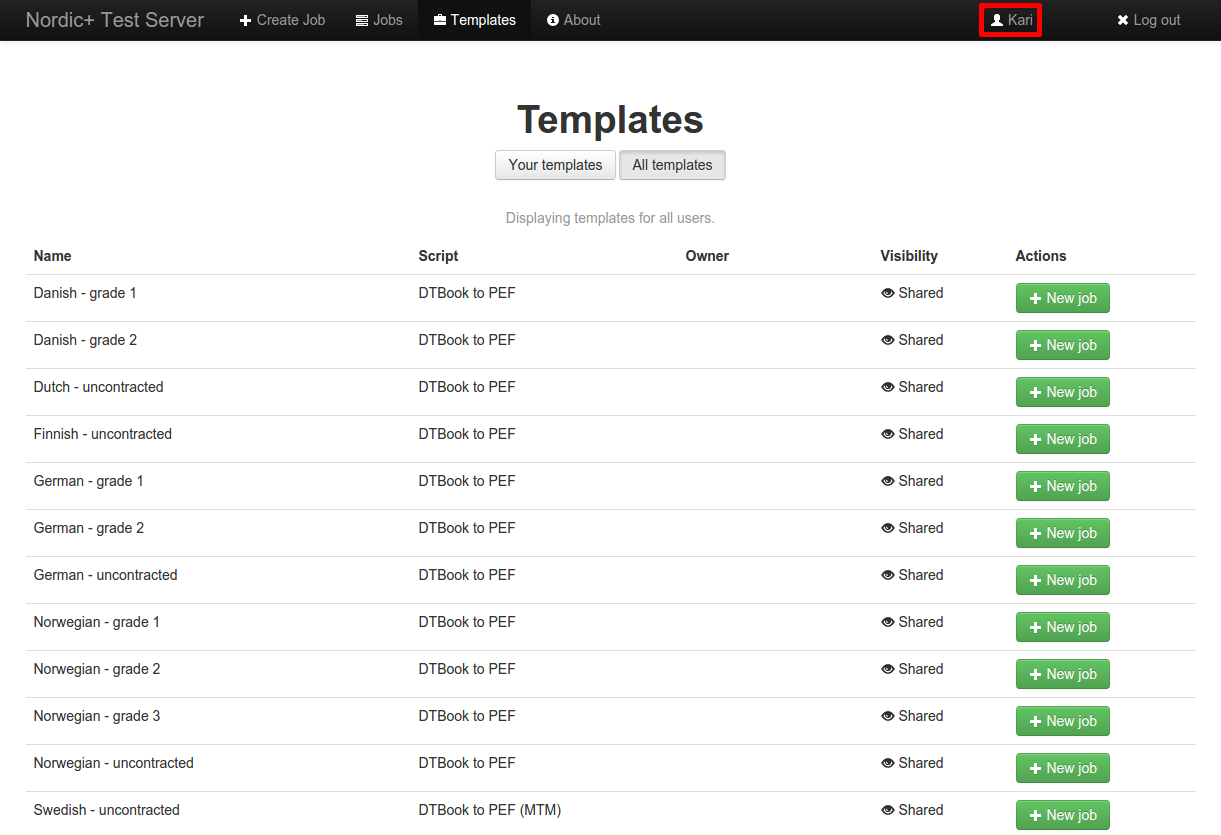
In this screenshot, we see the template listing for another user, who cannot see the template we just created.
Back in the template listing for the first user, click “Share with others” to share the template.

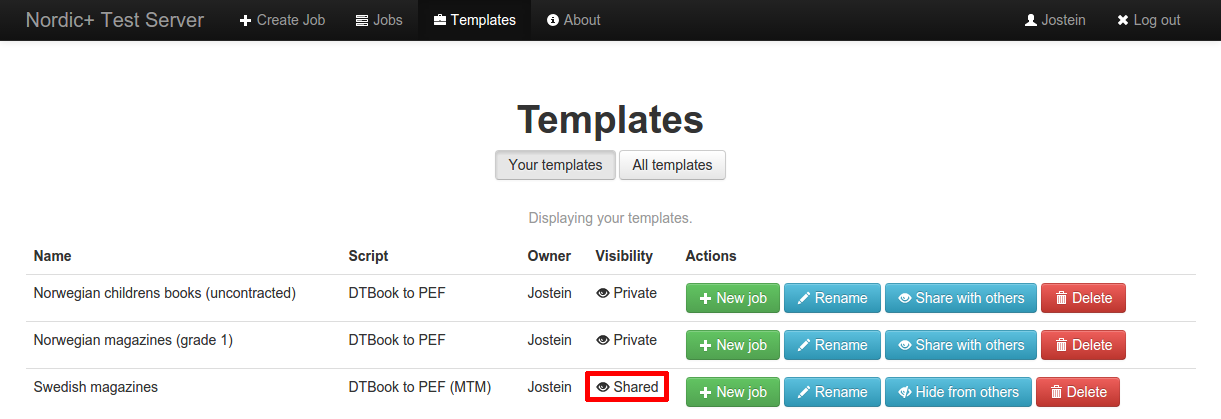
The template will now be listed as “shared” in the template list. You can change it back to private at a later point if you want to.
In this screenshot we see the template listing for the other user who could not see the template earlier. The template is now available for them to use.